The Ultimate Guide to Wallpaper Removal and Installation in Nassau County


Understanding Wallpaper Basics
Wallpaper can dramatically transform a room, adding texture, color, and personality. However, before diving into wallpaper installation, it's essential to understand the different types of wallpaper available. From traditional paper to peel-and-stick options, each type has its unique properties and installation requirements.
Choosing the right wallpaper is crucial for achieving the desired look. Consider factors such as room size, lighting, and existing decor. Additionally, think about the longevity and maintenance of the wallpaper you choose.
Preparing for Wallpaper Removal
Removing old wallpaper can be a daunting task, but proper preparation can make the process smoother. Start by gathering the necessary tools, such as a scraper, sponge, and wallpaper removal solution. Make sure to protect your floors and furniture with drop cloths.
Before you begin, test a small area to determine the type of adhesive used. This will help you choose the best removal method. Some wallpapers might peel off easily, while others require more effort.

Step-by-Step Removal Process
- Score the wallpaper with a utility knife to allow the removal solution to penetrate.
- Apply the wallpaper removal solution or a mixture of warm water and vinegar.
- Let the solution sit for a few minutes to loosen the adhesive.
- Use a scraper to gently peel off the wallpaper, starting from the top.
- Clean the walls with a damp sponge to remove any leftover residue.
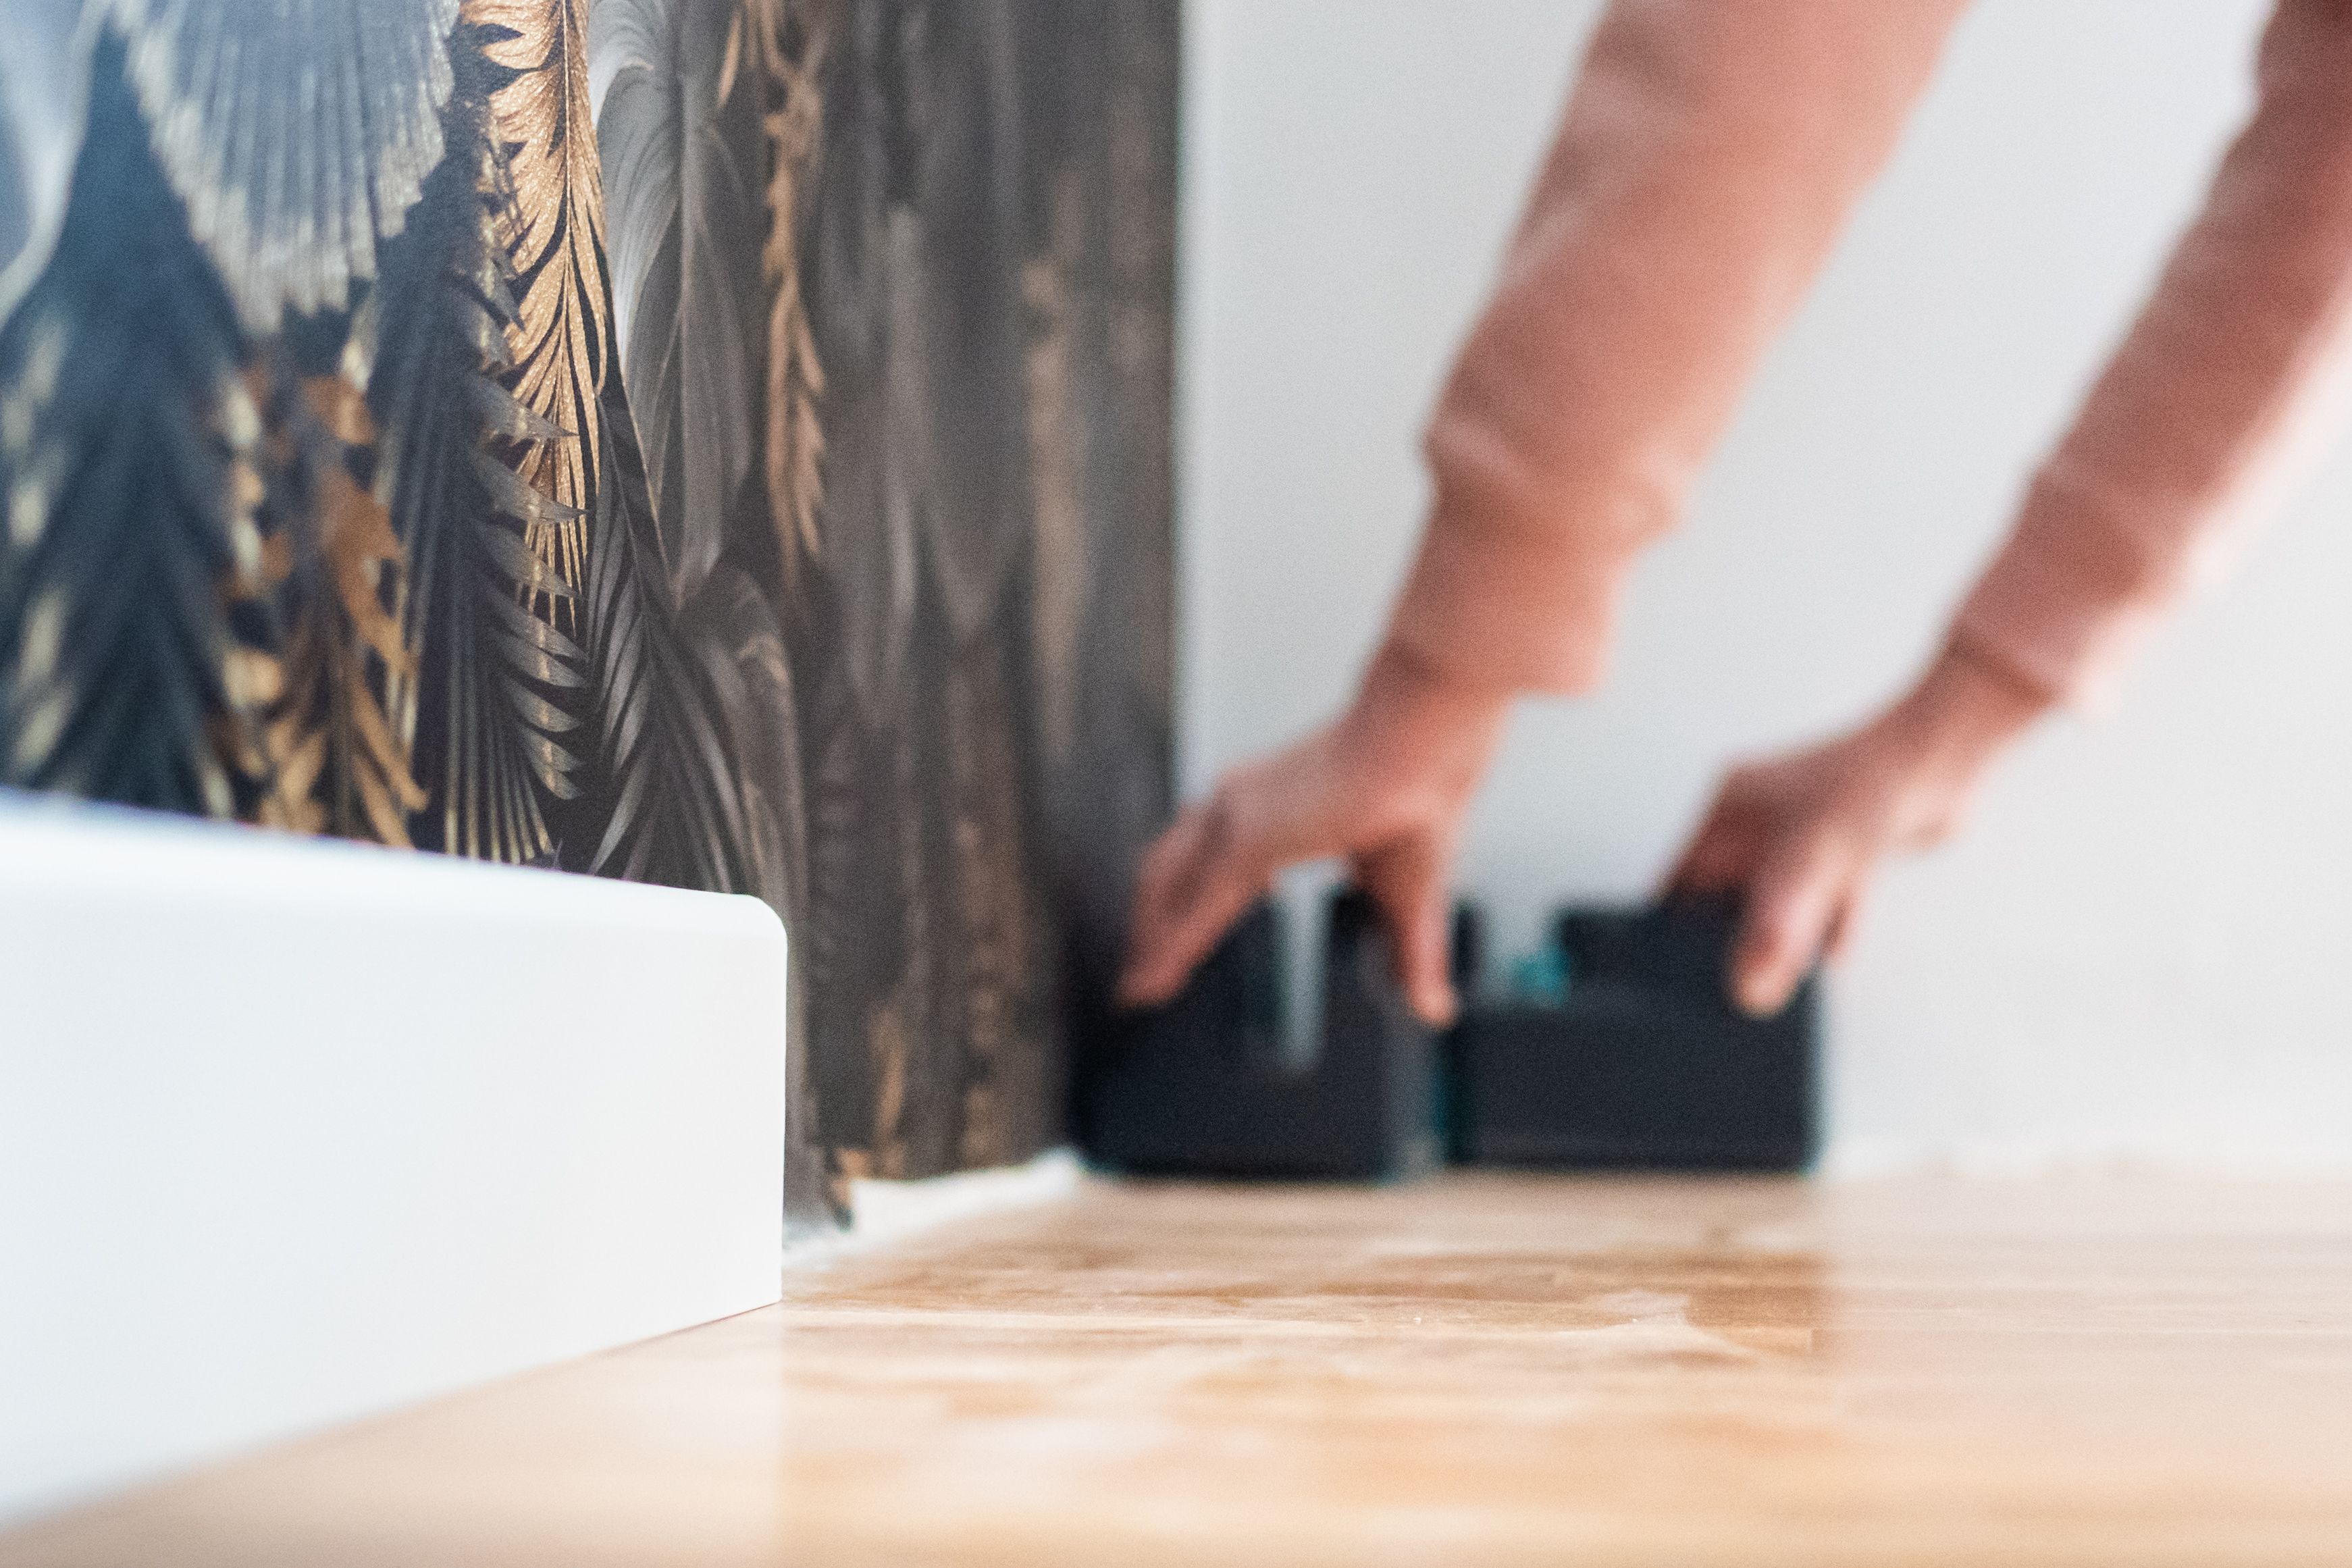
Installing New Wallpaper
Once the old wallpaper is removed, it's time to install the new one. Ensure the walls are clean, smooth, and dry. Patch any holes or imperfections to create a flawless surface for the wallpaper.
Measure the walls carefully and cut the wallpaper into strips. It's essential to match the patterns and align the edges precisely for a seamless look. Use a level to ensure each strip is straight.
Step-by-Step Installation Process
- Apply adhesive to the back of the wallpaper if it's not pre-pasted.
- Start at a corner and align the first strip with the ceiling.
- Smooth out bubbles and wrinkles using a wallpaper brush or roller.
- Trim excess wallpaper at the edges with a sharp utility knife.
- Repeat the process for each strip, ensuring pattern alignment.
Tips for a Professional Finish
For a polished look, pay attention to the details. Use caulk to fill any gaps between the wallpaper and trim. This adds a finished touch and prevents peeling.
Allow the wallpaper to dry completely before moving furniture back into the room. Proper drying ensures the adhesive sets correctly and prolongs the lifespan of the wallpaper.
Conclusion
Wallpaper removal and installation might seem challenging, but with the right preparation and techniques, it can be a rewarding DIY project. Whether you're updating a single room or your entire home, these steps will help you achieve a professional finish. Enjoy the transformation and the newfound ambiance in your space!