The Ultimate Guide to Wood Staining: Techniques and Tips for NY Homeowners


Understanding Wood Staining
Wood staining is a great way to enhance the natural beauty of wood surfaces in your home. Whether you're working on a new project or refreshing an old piece, understanding the basics of wood staining can greatly improve your results. The process involves applying a pigmented solution to wood to alter its color and bring out the grain patterns.
There are different types of stains available, including oil-based, water-based, and gel stains. Each type has its own advantages and ideal applications. For instance, oil-based stains penetrate deeply and are durable, making them suitable for outdoor projects. In contrast, water-based stains dry quickly and are easier to clean up, which is perfect for indoor furniture.
Preparing Your Wood
Proper preparation is critical to achieving a smooth, even stain. Start by sanding the wood surface with a fine-grit sandpaper to open the pores and remove any old finish or debris. Ensure you sand in the direction of the grain to avoid scratches that could become more visible once stained.
After sanding, clean the surface with a tack cloth to remove any dust. If there are imperfections or gaps, use wood filler to create a uniform surface. Allow the filler to dry and sand it smooth before proceeding to staining.
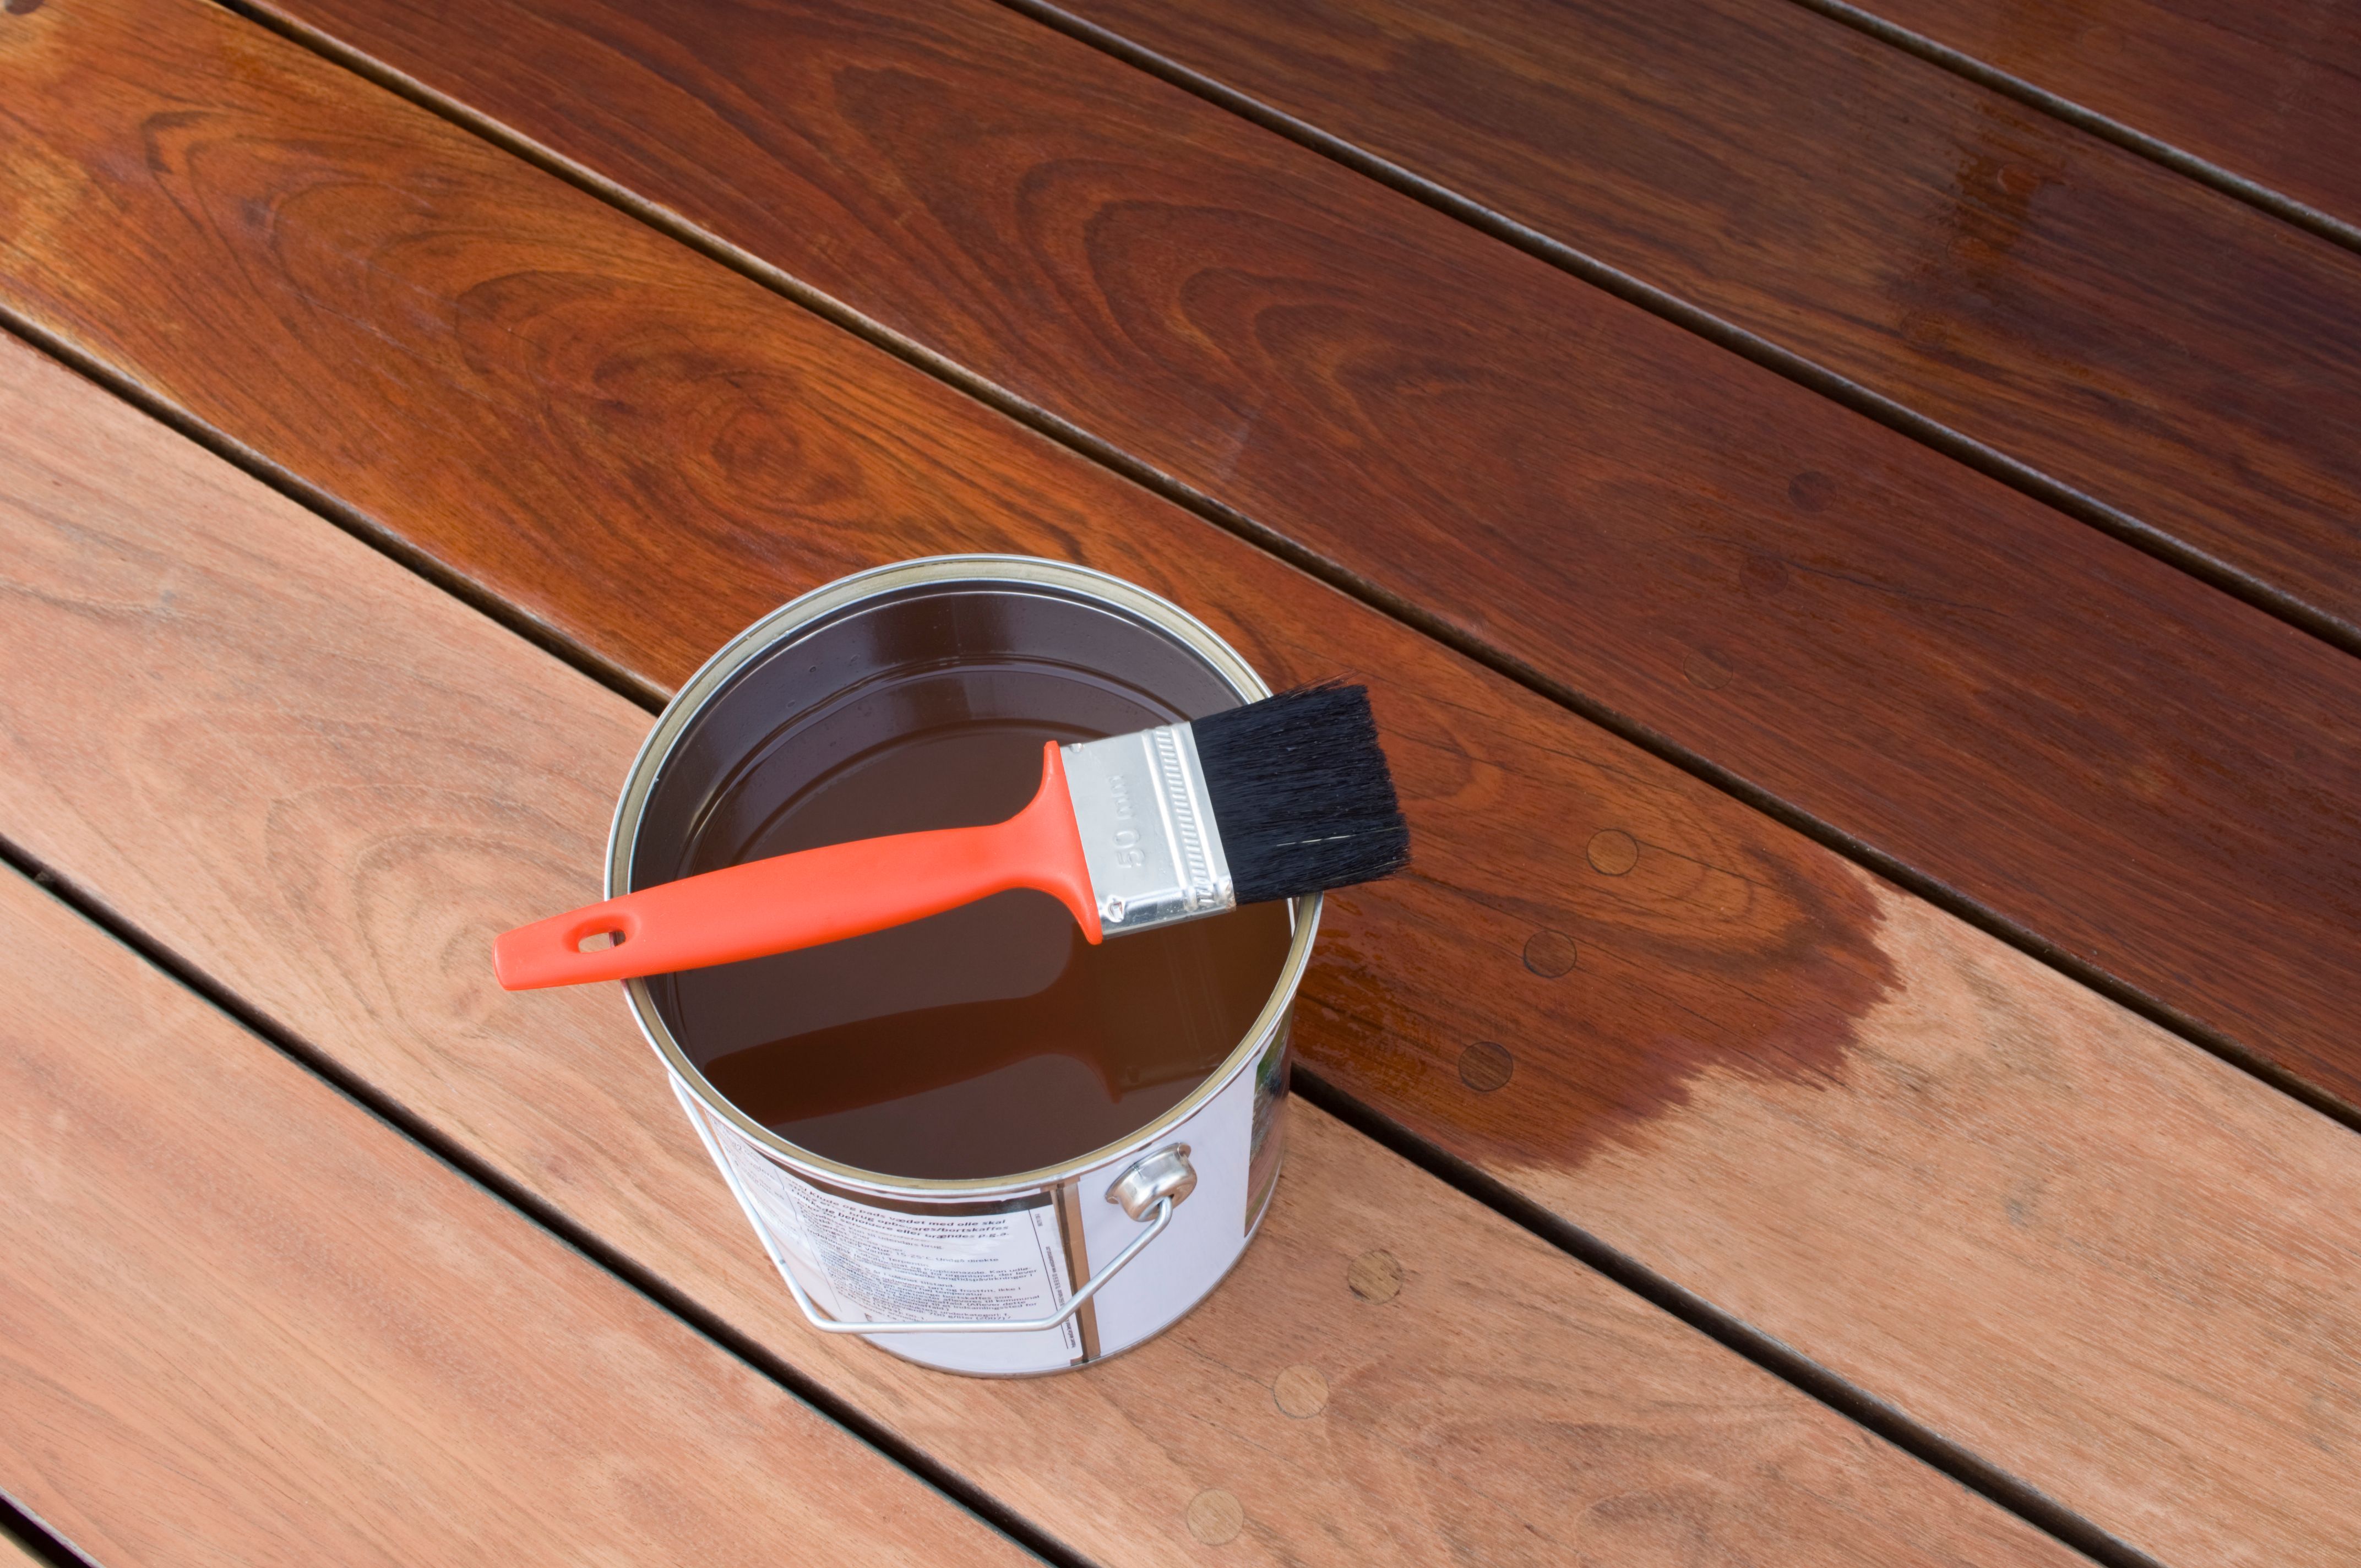
Staining Techniques
Depending on your desired outcome, you can choose from various staining techniques. The most common method is using a brush or rag to apply the stain evenly across the surface. Always follow the wood grain and work in small sections to ensure an even coat.
For a more controlled application, consider using a pre-stain conditioner, especially on softwoods like pine. This product helps prevent blotching and ensures uniform absorption of the stain. Another technique is layering different colors of stain, which can add depth and unique character to the wood.
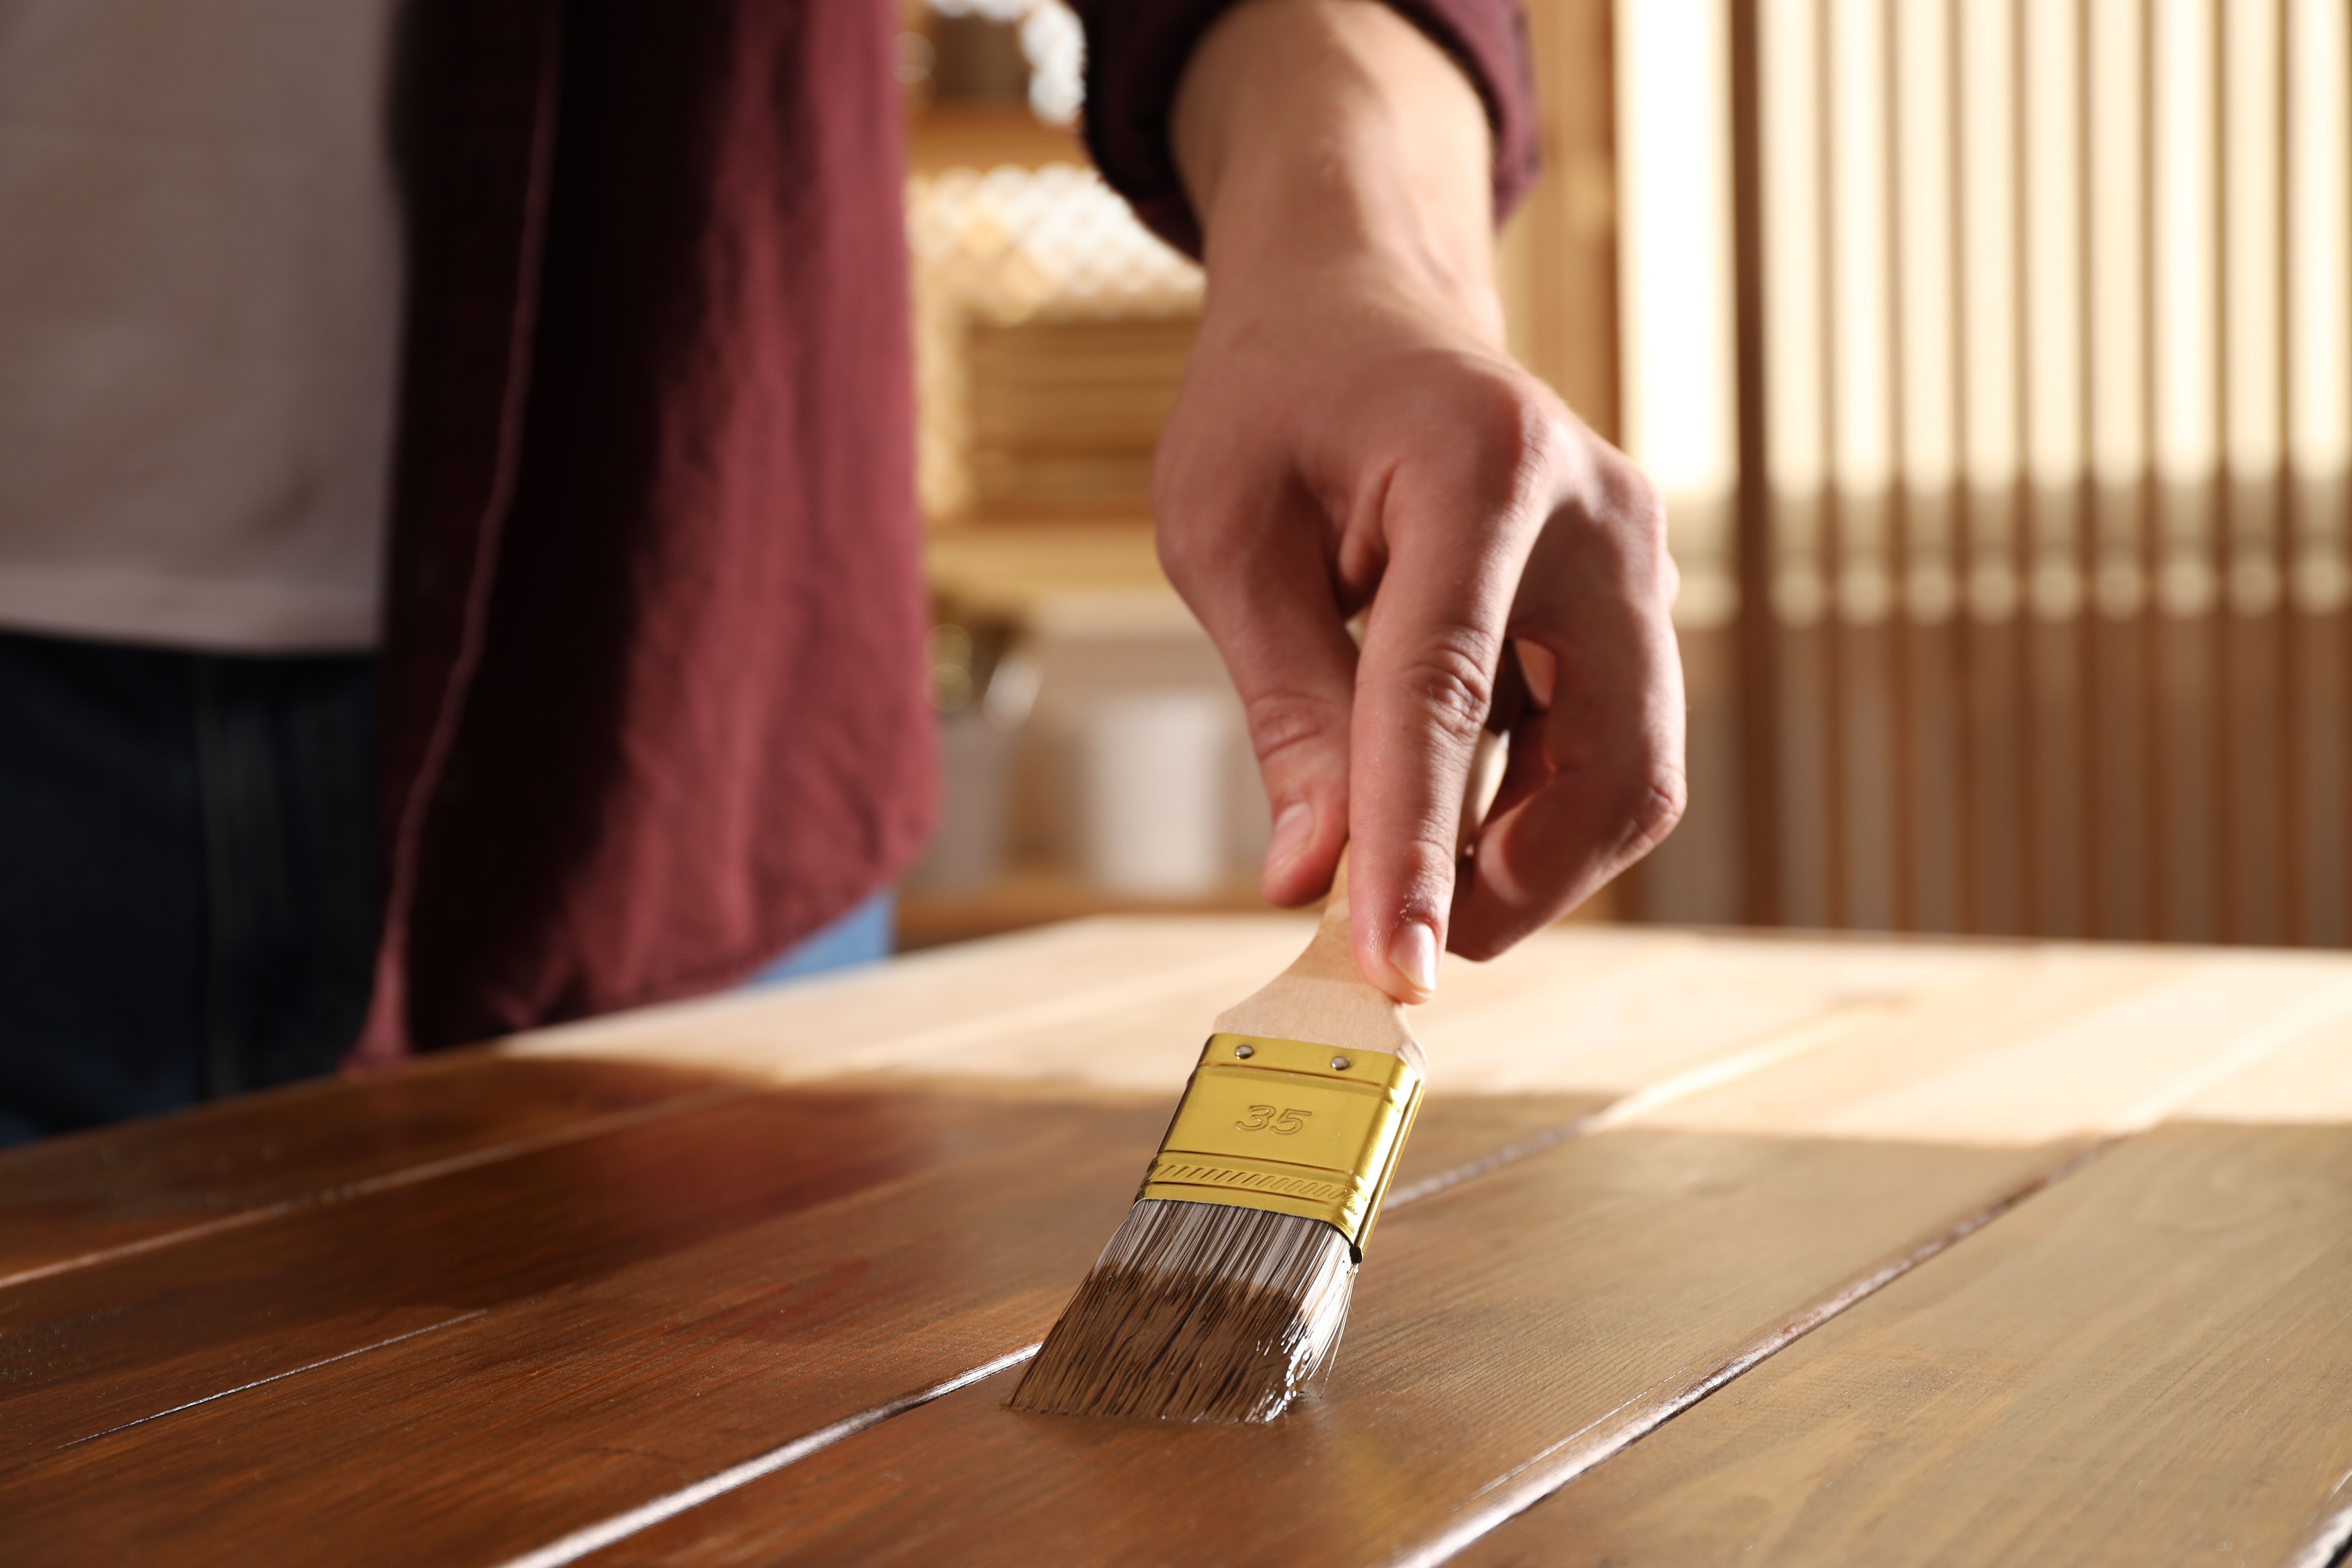
Tips for Achieving the Best Results
Test the Stain: Always test your chosen stain on a scrap piece of the same wood or an inconspicuous area before applying it to your project. This will help you see how the color turns out and make any necessary adjustments.
- Stir, Don't Shake: Stir your stain thoroughly before use to ensure even pigmentation. Shaking can introduce bubbles that affect the application.
- Apply Evenly: Use consistent pressure when applying the stain to avoid streaks. Wipe away excess stain promptly to prevent uneven drying.
- Seal Your Work: Once the stain is dry, apply a clear sealant to protect the surface and enhance its longevity.
Maintaining Your Stained Wood
To keep your stained wood looking its best, regular maintenance is key. Dust surfaces frequently and clean them with a damp cloth as needed. Avoid using harsh chemicals that could damage the finish.
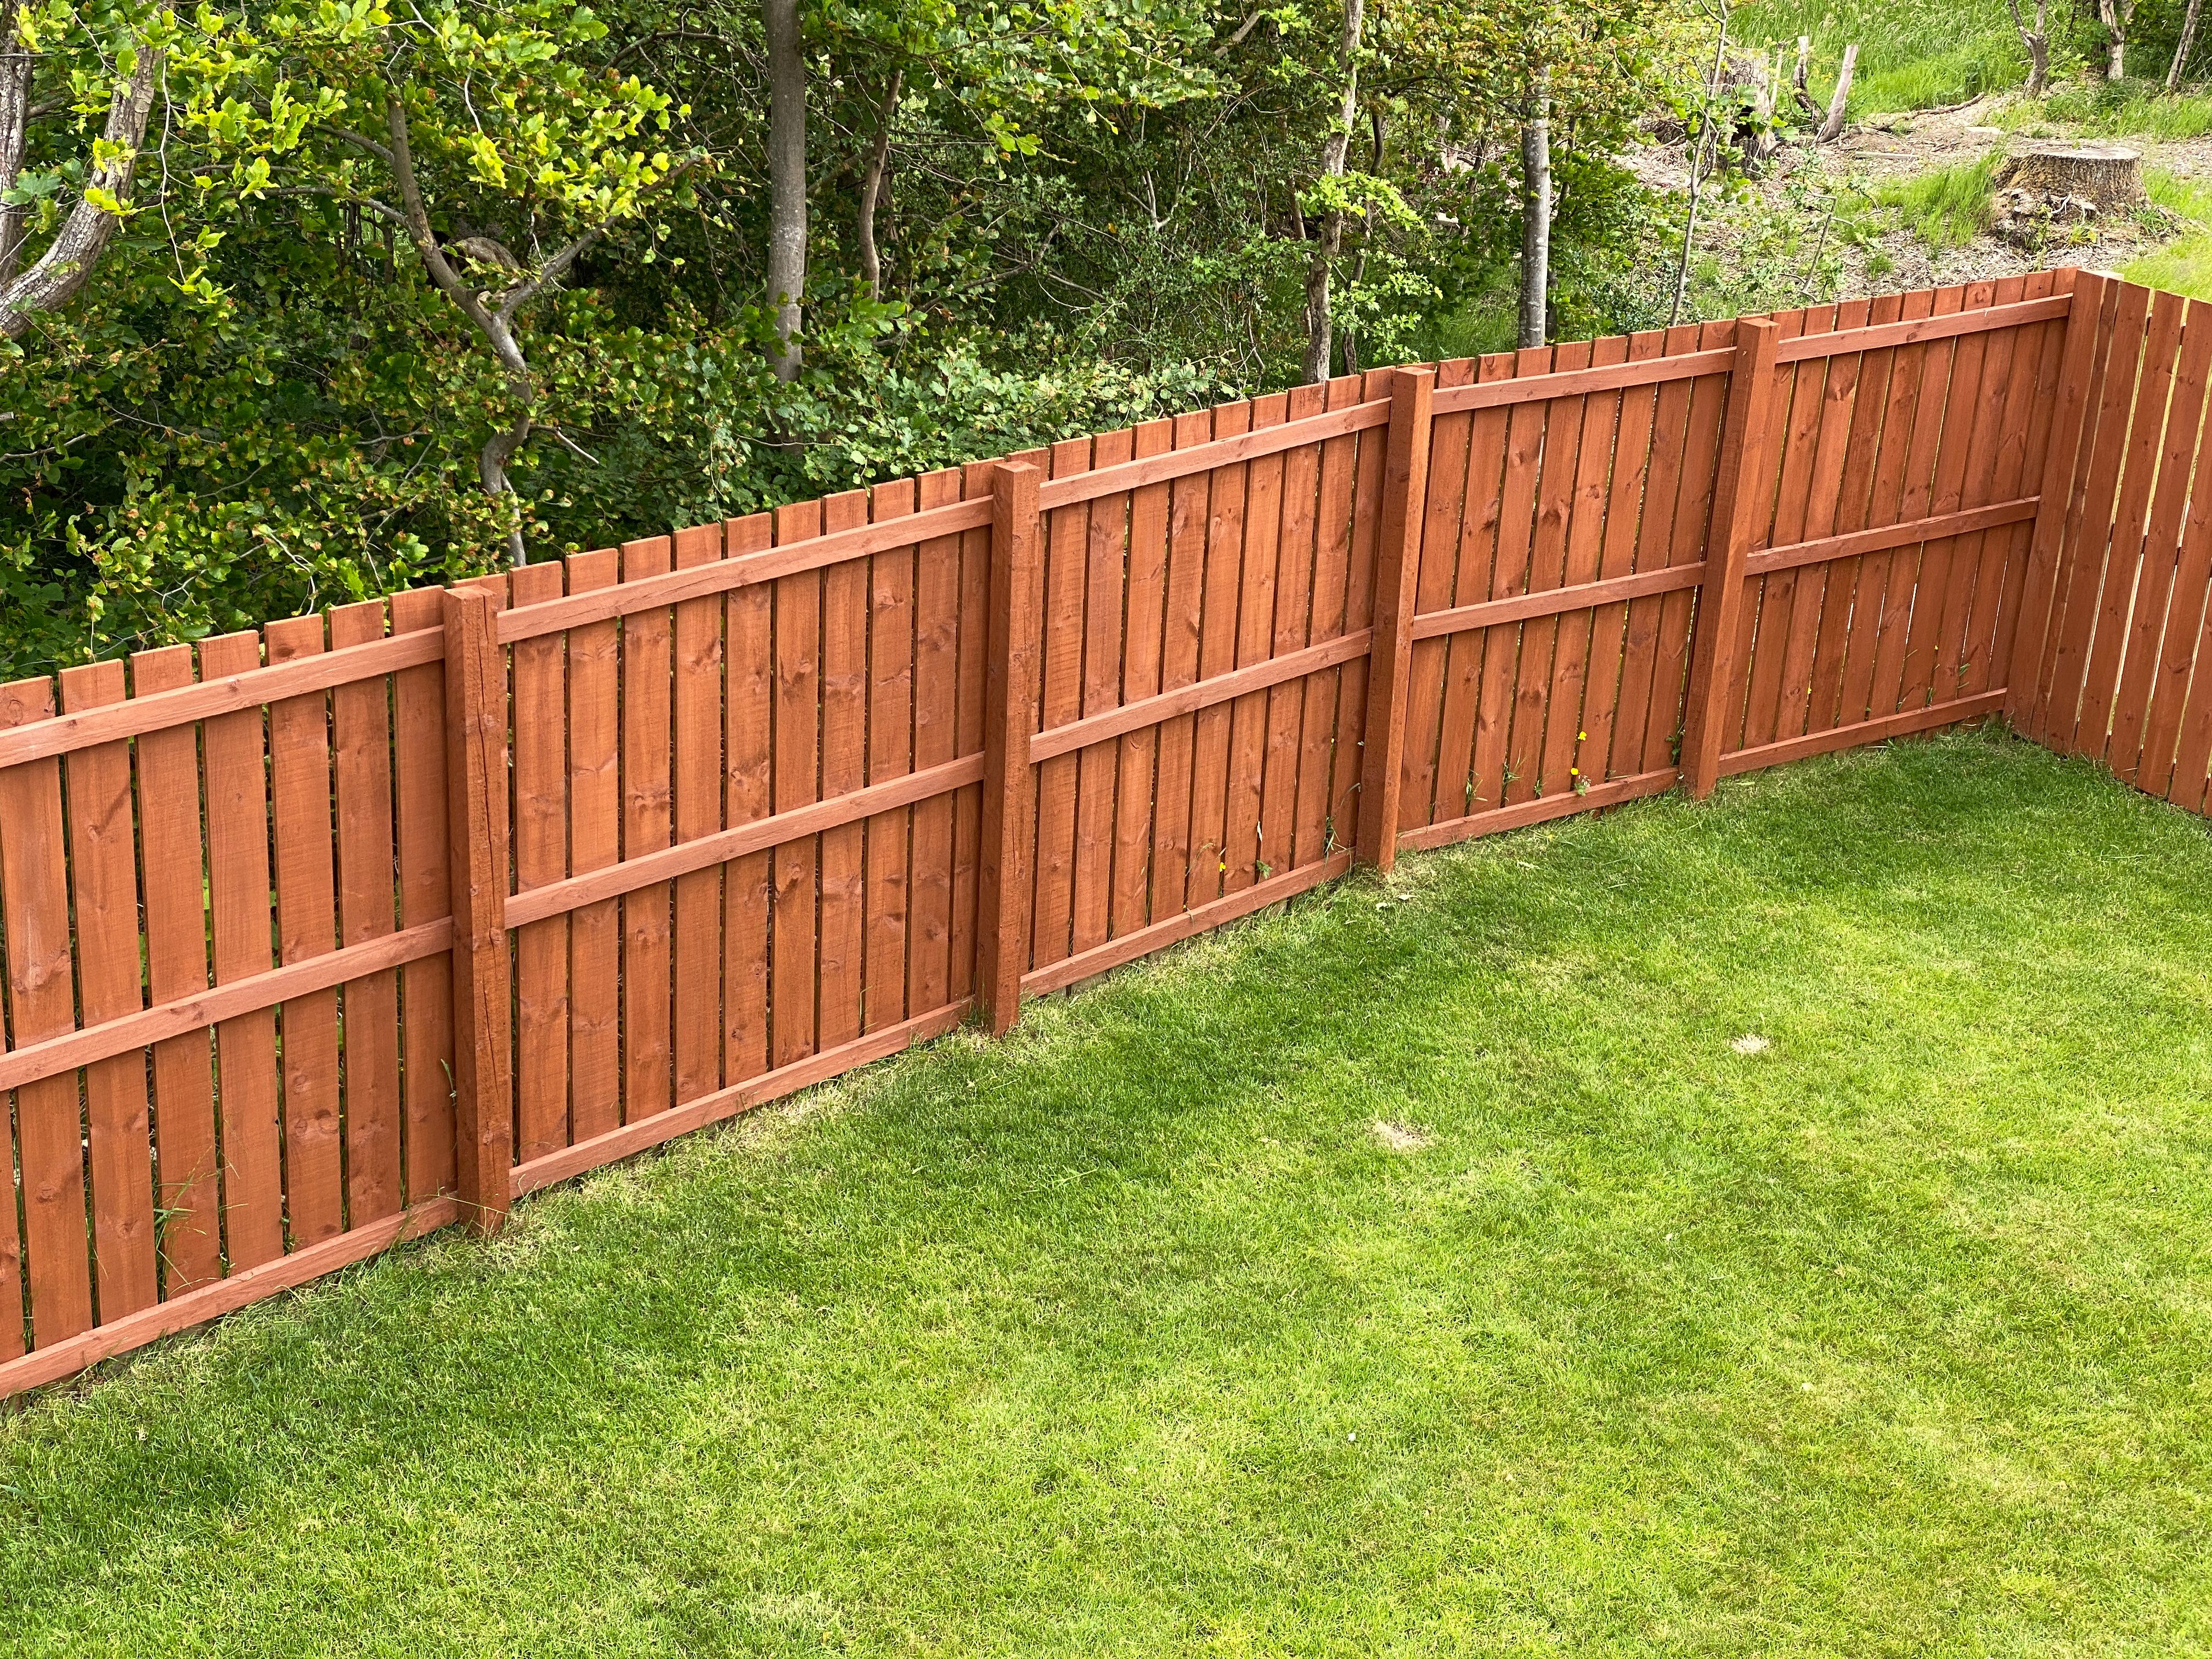
If you notice wear over time, lightly sand the area and reapply a fresh coat of stain followed by a sealant. This simple upkeep can extend the life of your wood surfaces significantly.
By following these techniques and tips, NY homeowners can transform their wood projects into stunning pieces that add warmth and character to any space. Whether you're a DIY enthusiast or just getting started, mastering wood staining will open up endless possibilities for home improvement.